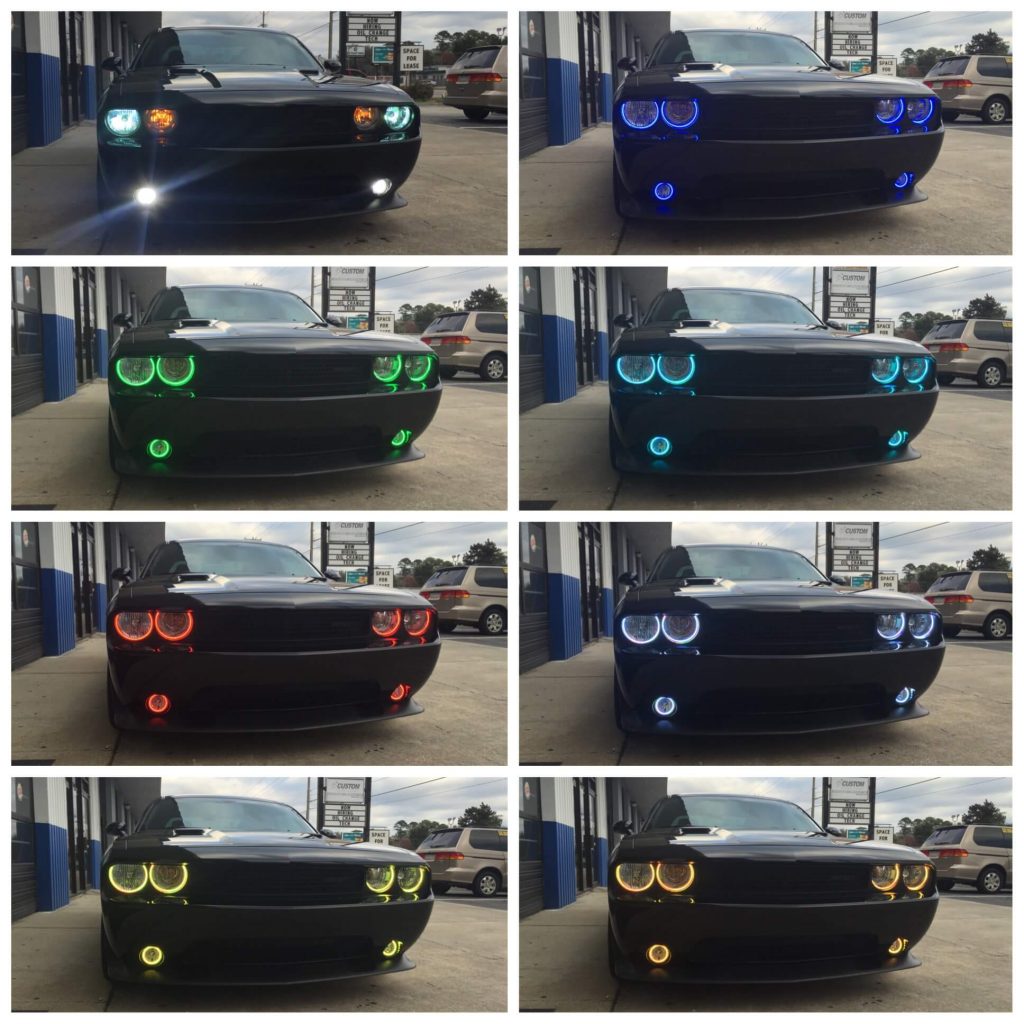
One of the most popular custom modifications we perform at Audio Designs & Custom Graphics is halo light installation. It is a category that is often misunderstood, and many people think it is a quick and easy job, so we have written this article to walk you through the steps we take to install halo lights on a vehicle.
Halo Headlight Accent Ring Installation Procedure
- First, we put the vehicle on our lift and carefully remove the front bumper to access the headlights and foglights properly. We use protective tape wherever needed to protect the paint on the vehicle.
- Next, we take the light assemblies and bake them in a commercial oven for 30 minutes to loosen the adhesive holding the lenses to the body of the light housing.
- Now we put the lights on a workbench and carefully remove the lenses from the housing. We are very careful during this process, because we know that the whole assembly could be ruined otherwise.
- Now comes the fun part. We carefully position and mount the halo light assembly inside the light fixture, using a two-part epoxy. We take special care to ensure that the glue is not visible on the finished product.
- Now we use a special adhesive to secure the lens back into the light housing. This part is critical as the seal must be watertight and look as if the assembly was never opened. This is where many people will fail by cutting corners with the adhesive or the time needed to complete this aspect of the job properly. At Audio Designs & Custom, we don’t cut any corners.
- The next step is to reinstall the light assemblies on the vehicle.
- We install new wiring to power the halo lights, and cover all of it in protective loom to give it a factory appearance and ensure it will last for years to come. We make a hole in the firewall to allow the wiring to get into the passenger compartment and install the remote eye.
- We then test all of the functions of the halo systems to confirm that everything works properly and looks perfect.
- We reinstall the bumper on the vehicle and take it off the lift.
- It is now ready to be delivered to our customer.
 It takes us approximately 10 hours to complete this installation on a typical vehicle.
Here at Audio Designs & Custom Graphics, we sweat every detail, including selecting only the finest halo kits to ensure you years of trouble-free use.
Make Audio Designs & Custom Graphics Your One-Stop Vehicle Personalizing Facility
We invite you to stop by our facility here in Jacksonville and let us show you around. If you like personalizing your vehicle and you want it to stand out from the crowd, we think you just found a new home. We are just like you: We view an automobile as a blank canvas just waiting to be painted. And, while we are doing your halo light kit, you may decide you want some other light modifications done, such as HIDs or LEDs. Click HERE for an article about the many different lighting products we offer. If you would like more information on any of our products and services, you can also contact us here.

I saw your YouTube video of your black 2014 impala with halo lights on it. I’d like to do the same to my vehicle, its the 2015 Impala LT can I order the lights through you guys please let me know thank you
I have Purchased a set of oracle halo lights for my 2013 Camero SS. What would be the install price and install time?